You’re excited. You just put together a fancy website, maybe your first. You’ve deployed it to a server and sent your friend the link, and the first thing they say is:
“Is this going to give me a virus?”
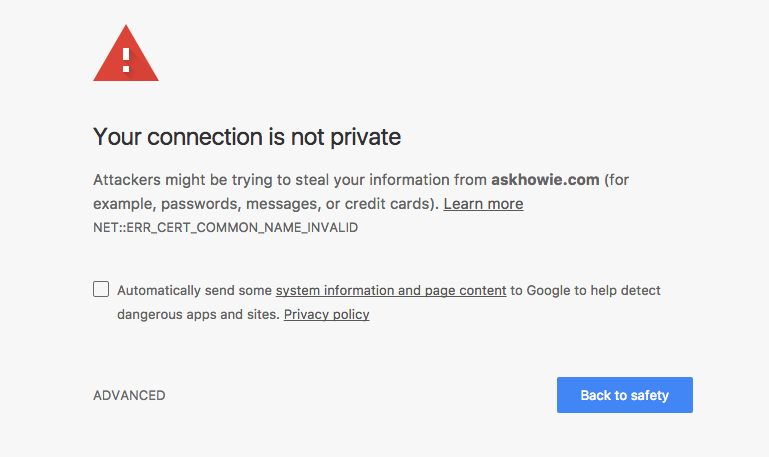
Your friend has experienced the dreaded http warning page, and you are about to have to learn about SSL encryption, a pesky but necessary part of the modern internet. I’d like to help.
SSL is the method by which sites can be certified as genuine and allows encrypted HTTPS traffic. In short, it does a lot to help keep your data safe and secure, and assures your privacy even on public networks. It can also be tricky to implement. To make things easier, I’ve developed a Docker container that both hosts your WordPress website and Certbot, a tool that handles SSL certification. And using it is as easy as a few clicks.
Here’s how:
You’ll need a VPS, or a cloud computer running Linux. You’ll also need to purchase a registered domain. You can get a domain from several sites. Some domains can be as cheap as $12 a year. I purchased the domain for this site from Squarespace.
Your VPS will have a static, numerical IP address. Take note of this.

The website will be hosted on the VPS, and we will point the traffic from your domain name to it in the next steps. To do this, go into the DNS settings of your registered domain, and create two records:

Now we will deploy the Docker container. Access your VPS via ssh or online dashboard to get to the terminal. First, use git to clone the repository, and then move into the cloned folder:
sudo git clone https://github.com/WirelessDan/WordpressCertbotDocker && cd WordPressCertbotDocker
Next, use your text editor of choice to modify the docker-compose.yml file. This file contains all the information for the container. Change the “domain.com” placeholders to your domain and the email to your email. The email in the file MUST be the same one you used to register the domain. Change the default user and passwords for security.
sudo nano docker-compose.yml
Save the file when you are done. You can start the Docker container with:
sudo docker-compose up -d
If you do not have docker-compose installed, you can install it (on your Linux server) with:
sudo apt-get install docker-compose
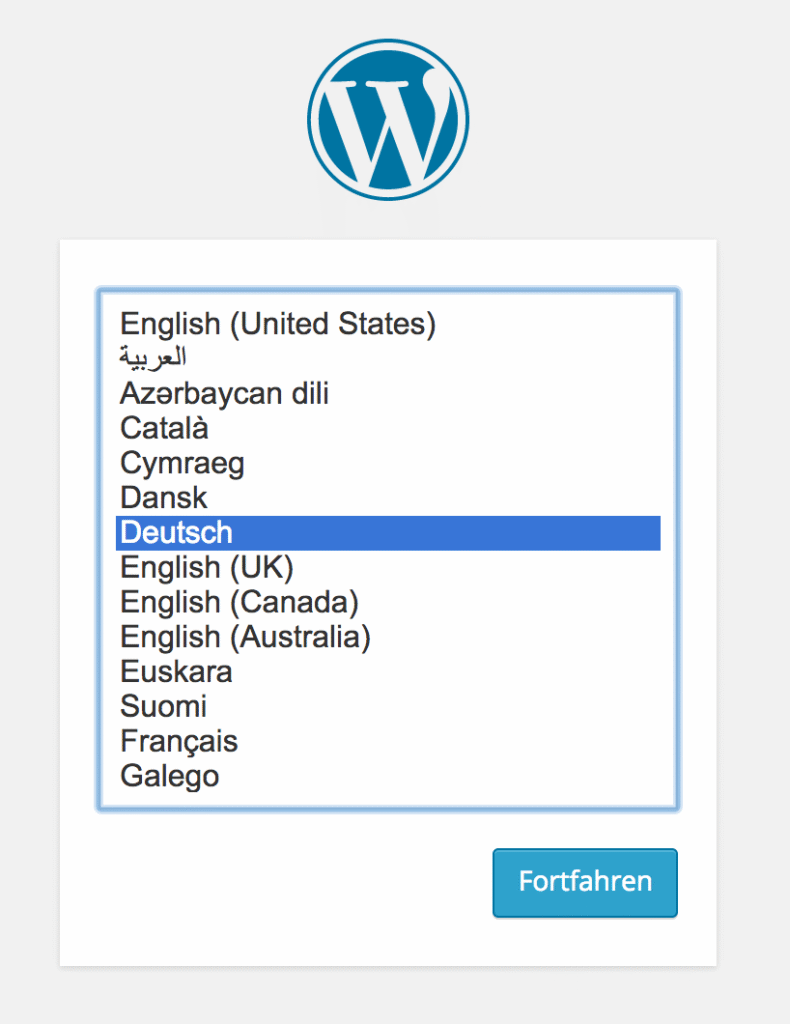
The first time you run the container, it may take several minutes to load all the modules. If there are errors, recheck the docker-compose.yml file to make sure you all the fields are correct. If everything is good, enter your domain in the browser and you should get an error-free, https WordPress homepage!